

A secret that everyone must know about contouring is the fact that 1. It's been used for decades and recognized to add structure back to the face or body and 2. no, it wasn’t developed by The Kardashians!

You can call contouring a magic trick as it is in a position to increase your features depending on what sort of illusions you're going for. Since there are different ways to get it done, some people may choose for a more natural soft contour while others will go full-scale. With regards to contouring, though, there is no right or wrong answer.
So first things first, if you’re someone who is new to makeup, contouring may appear just a little easy initially until you have tried it. Well, I certainly took some time to get a practice it. However, with one of these three steps, we guarantee you’ll be contouring just like a pro in no time.
Step 1
After you’ve finished applying your base – toner, moisturizer, primer, and foundation – pick the concealer shade that suits your skin tone the best and mark the areas you need to hide. It really works like magic as it can hide any blemishes, redness, or dark circles on your face. Apply it for your face and mix it with your ring finger, a beauty blender, or a brush.
Step 2
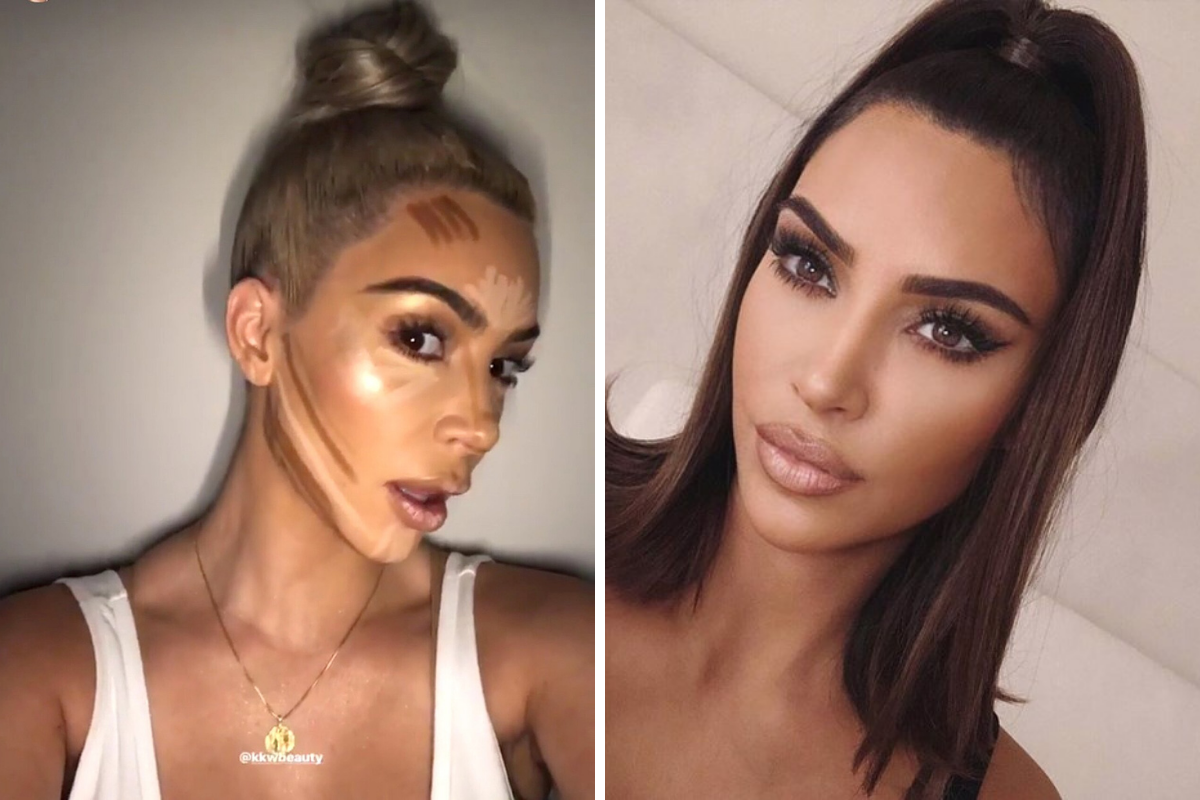
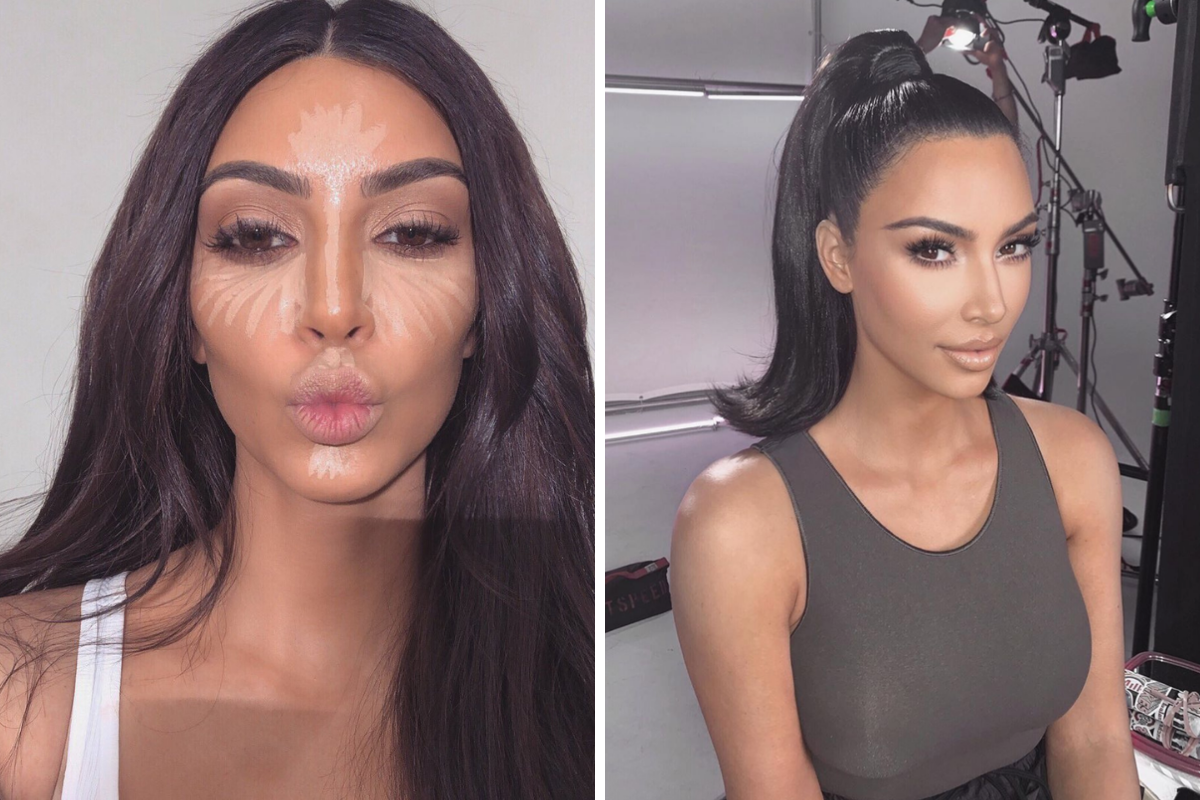
Select a deeper shade than the skin tone (but nonetheless matching your undertone) and apply it in your cheekbones, temple, jawline, and down the side of your nose to boost dimension. When contouring your cheekbones, always remember to start at an angle from your ears and come down to your lips to boost your facial features.
Step 3
The final tip is to emphasize your natural features by highlighting your face. Use a two-shade lighter concealer or highlighter beneath the eyes, on top and beneath your cheekbones, across the bridge of your nose, and beneath your chin. This works to supply the illusion that the face is much more lifted.
And that's it, practice makes perfect and shortly you’ll be contouring like a boss.