
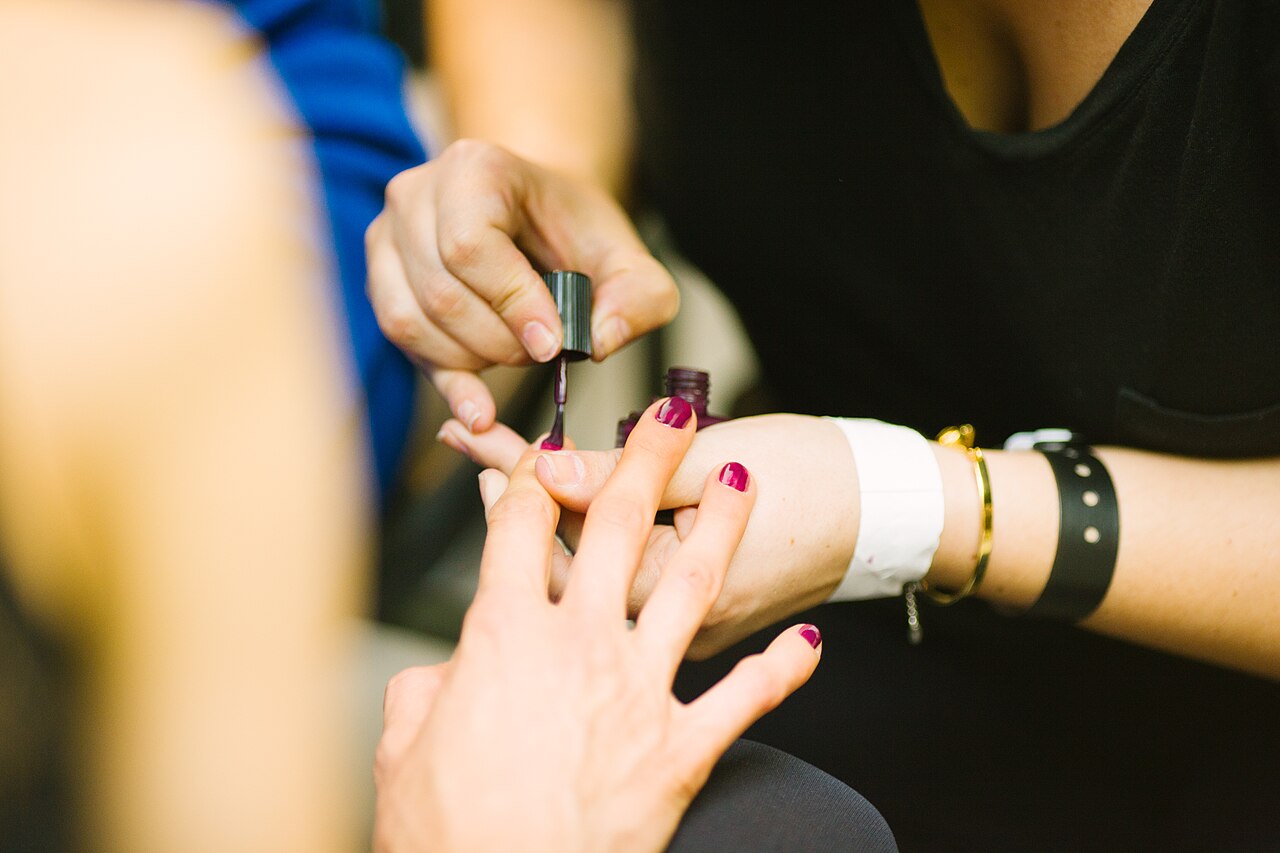
A home manicure that chips after a day or two usually comes down to preparation, not polish. These seven habits help DIY nails stay smooth and glossy for far longer.
Quick look
- Clean, dry, oil-free nails give polish something to grip, so wipe each nail with remover before you start, even when the nail is bare.
- Dermatologists advise leaving cuticles alone, because cutting them breaks the skin’s seal and can lead to a nail infection.
- Thin layers with the free edge capped beat one thick coat, and each coat needs time to set before the next goes on.
- Moisturise cuticles and hands once the polish is dry, but keep nails out of water while painting and use gloves for washing up.
- Discoloured, thickened or streaked nails can signal a fungal infection, so ask a pharmacist or GP before covering them with polish.
A chipped manicure soon after painting is a familiar frustration, and it is usually not the polish’s fault. Dermatologists point out that professional dip powder manicures can stay chip free for up to four weeks, which shows how much longevity a properly built-up manicure can achieve. A home polish manicure will not match that, but the gap between polish that fails quickly and polish that goes the distance comes down to preparation and patience rather than price. Here are seven habits that make the biggest difference.
1. Start With Clean, Dehydrated Nails
Polish grips best to a dry, oil-free surface, so preparation matters more than most people expect. Wash your hands, then wipe each nail with a cotton pad and polish remover even if the nail is bare. This clears away natural oils, traces of hand cream and residue from previous products, all of which stop base coat from bonding properly. Save the hand lotion for later; skin can be moisturised once the polish is on.
Check the bottles as well. Polish that has gone thick, stringy or separated is hard to apply in thin, even layers and tends to wear badly. Beauty products do not last indefinitely, and our guide to how long makeup lasts explains how to read the open-jar symbol so you know when something has passed its best.
2. Push Back Cuticles, Don’t Cut Them
Your cuticles seal the gap between the nail plate and the skin, and dermatologists are clear that they should be left alone. Cutting or trimming them breaks that seal and can lead to a nail infection, which is far more damaging to your nails than any soft fringe of skin. Push cuticles back gently with a wooden stick after a bath or shower, when they are soft, and wipe away the small amount of dead tissue that lifts free. This gives polish a wider, flatter surface to hold on to while keeping the protective barrier intact.
If you paint nails for friends or family, remember that infections can spread through shared products. Dermatologists warn against the double dip, dipping fingers into containers other people have used, so decant polish into small pots or use separate tools. The same hygiene logic that applies to cleaning makeup brushes and sponges applies here.
Little trick: If your cuticles are rough or scaly, petroleum jelly at bedtime is a budget-friendly way to soften them. Cuticle oil is another option dermatologists recommend.
3. Thin Layers Beat One Thick Coat
One generous coat is tempting, but thick layers stay soft underneath for longer and flex with the nail, so they dent, peel and chip sooner. A thin base coat, a couple of thin colour coats and a thin top coat will almost always outlast a single heavy application. If a thin coat looks streaky, resist the urge to reload the brush to fix it; a second light pass evens out the colour without adding bulk. Wipe one side of the brush against the neck of the bottle before painting so it does not carry too much polish, and use light, quick strokes so the layer stays even.
4. Cap the Free Edge Every Time
The free edge is the tip of the nail, the part that grows past the finger, and it is where chips usually start. Water and everyday knocks get underneath an unsealed edge and lift the polish from the top down. To prevent it, drag the brush horizontally across the very tip of the nail after every coat, base, colour and top, so a thin layer wraps over the edge. It takes an extra second per nail and it is the habit that makes the most visible difference to how long a home manicure holds up. Check the tips once the top coat is on and add a little more to any nail you missed.
5. Give Each Coat Time to Set
Nail polish dries from the top down, which means a coat can feel dry to a light touch while the layer beneath is still soft. If you paint the next coat too soon, the solvents in the fresh layer soften the one below, and the manicure dents, smudges or peels later. Let each coat set until it is no longer tacky before moving on, then give the finished manicure a good while longer before you do anything demanding with your hands. A quick-dry top coat can speed up the surface, but treat the whole thing as delicate for the rest of the day. Drying also takes longer in cold, damp conditions, so warm hands and a well-ventilated room help more than an extra coat does.
6. Moisturise Afterwards, But Skip the Soaking
Moisturised nails and skin cope better with daily knocks and are less prone to breaking, so keep up hand cream and cuticle care once the manicure is fully dry. The catch is water. Soaking nails before painting, whether in the bath or a bowl, makes the nail plate swell, and as it dries out afterwards the plate shrinks back and pulls the polish away with it. Keep nails dry while you paint, then moisturise freely afterwards. For the days that follow, gloves for washing up protect both the polish and your skin from long stints in hot, soapy water, which is when lifting usually begins.
7. Make Small Repairs Before the Chip Spreads
A tiny chip or lifted edge does not have to end the manicure. Smooth the rough spot with a fine file, dab a little polish remover on the area to blend the edges, then seal the whole nail with a fresh layer of top coat. Caught early, the repair is close to invisible and the rest of the manicure carries on. Filing regularly is also what NHS specialists recommend for keeping nails comfortable and in good shape in general.
One thing not to cover up is a nail that looks wrong. Discolouration, white or yellow streaks, small flaky white patches or thickening can be signs of a fungal nail infection, and painting over it can make the problem harder to spot and treat. A pharmacist or GP can advise on what is going on, and anti-fungal nail lacquers are available from pharmacies and supermarkets, applied to the nail as the packaging describes. That route takes patience, since treatment may need to continue for up to a year, but healthy nails are the foundation of every good manicure.
Ask away
How long should a home manicure last?
It depends on the polish, your nails and your routine. Dermatologists note that professional dip powder manicures can stay chip free for up to four weeks, and a well-prepped home polish manicure can also hold up much longer than a rushed one.
Should I cut my cuticles before painting?
No. Dermatologists recommend leaving cuticles alone, since cutting them can lead to a serious infection. Push them back gently when soft, and moisturise rough skin with petroleum jelly at bedtime or a cuticle oil.
My nail looks discoloured and thick. Can I just paint over it?
White or yellow streaks, flaky patches and thickening can be signs of a fungal nail infection, so speak to a pharmacist or GP first. Anti-fungal nail lacquers are available from pharmacies, but treatment can take up to a year.
Why does my polish always chip at the tips first?
The free edge of the nail takes the knocks and gets wet often. Capping the edge with a thin layer of every coat, especially the top coat, seals the tip and helps stop lifting.
This article is general information, not medical advice. For skin, scalp or allergy concerns, speak to a pharmacist, your GP or a dermatologist. In an emergency, call 999.